SEED COLLECTIONS
-
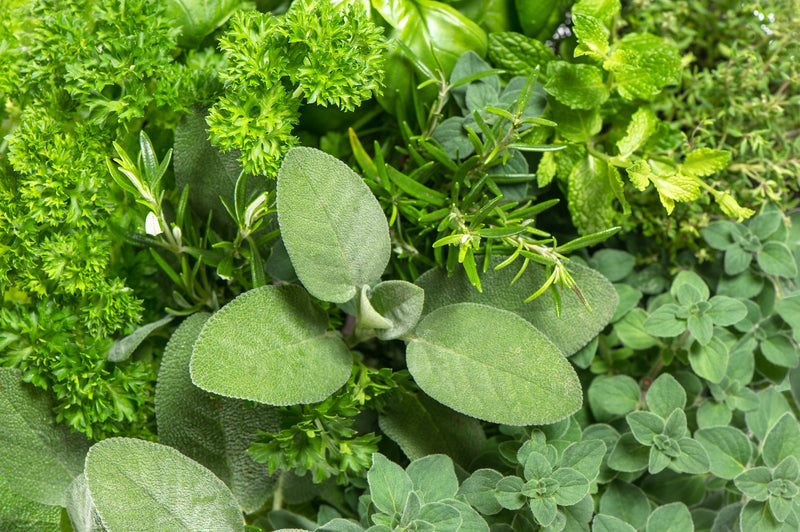
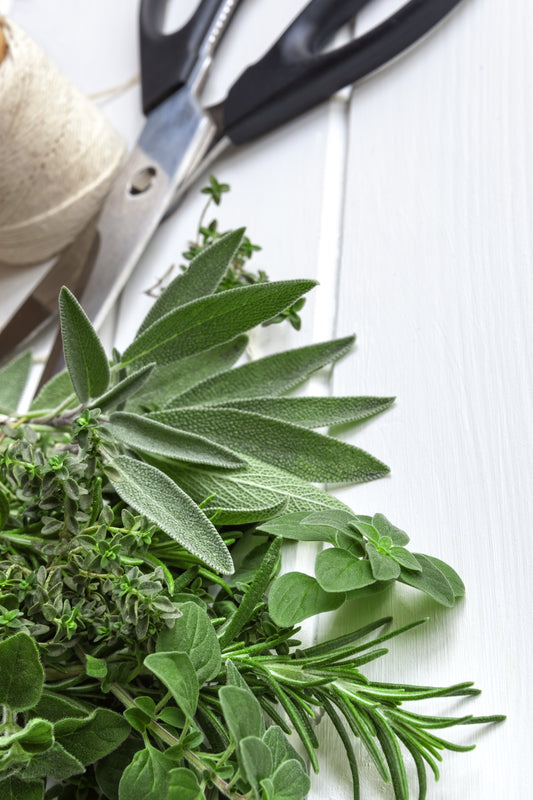
CULINARY HERB SEEDS
Welcome to our Culinary Herb Seed collection! Here you will find many...
-
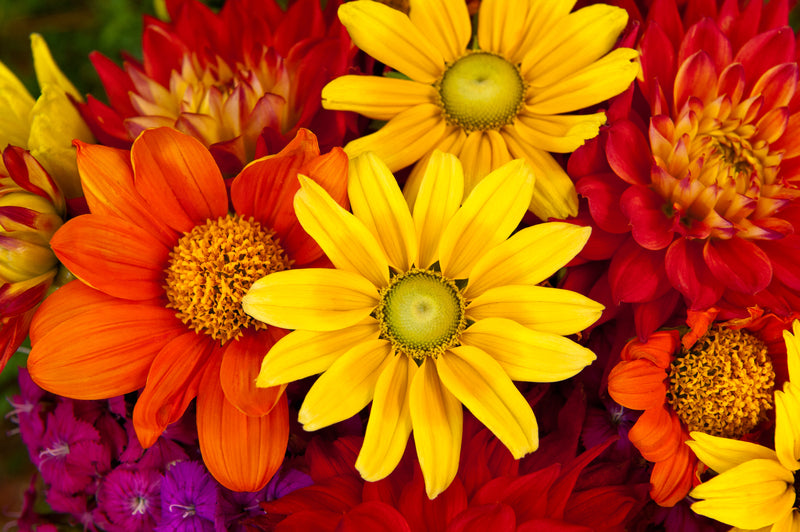
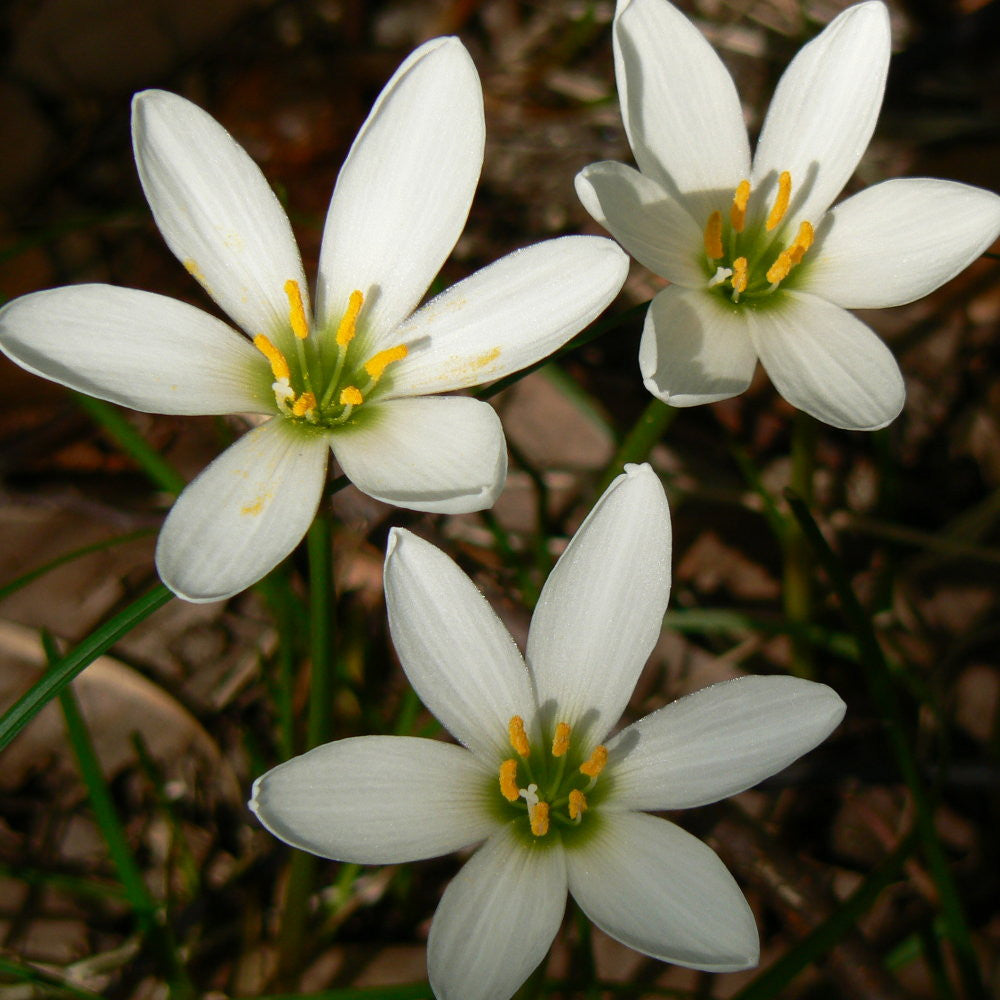
FLOWER SEEDS
Our unique variety of Flower Seeds.
-
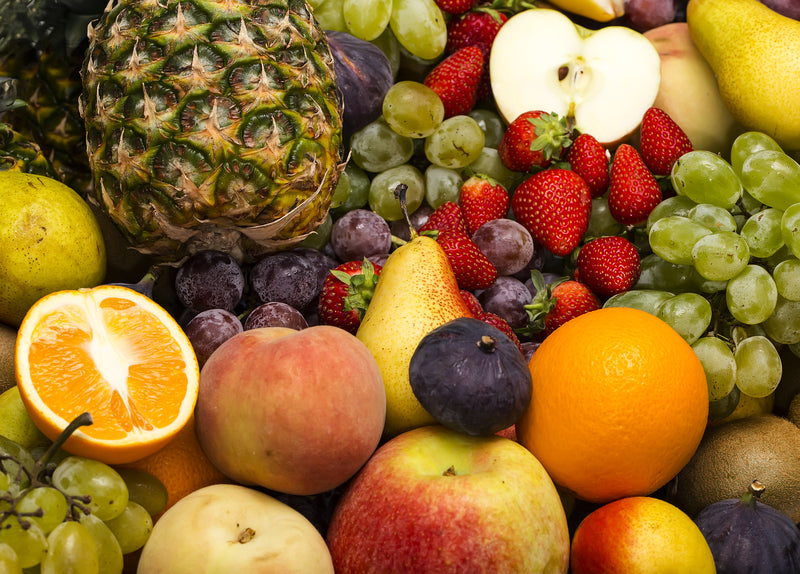
HEIRLOOM FRUIT & BERRIES
Our unique selection of non-GMO heirloom Fruit and Berry Seeds.
-
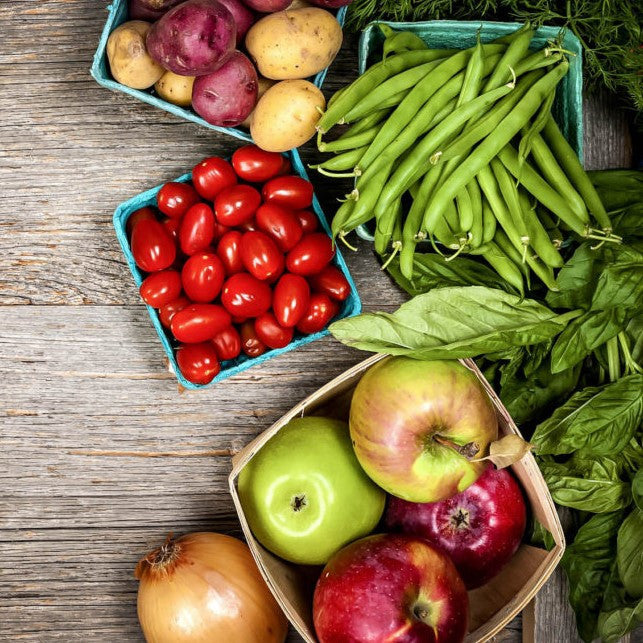
HEIRLOOM VEGETABLE SEEDS
Our unique selection of many different types of non-GMO, heirloom varieties of...
-

HOLIDAY GIFT SETS
Shop our DIY sets, biblical gifts and gift cards.
-
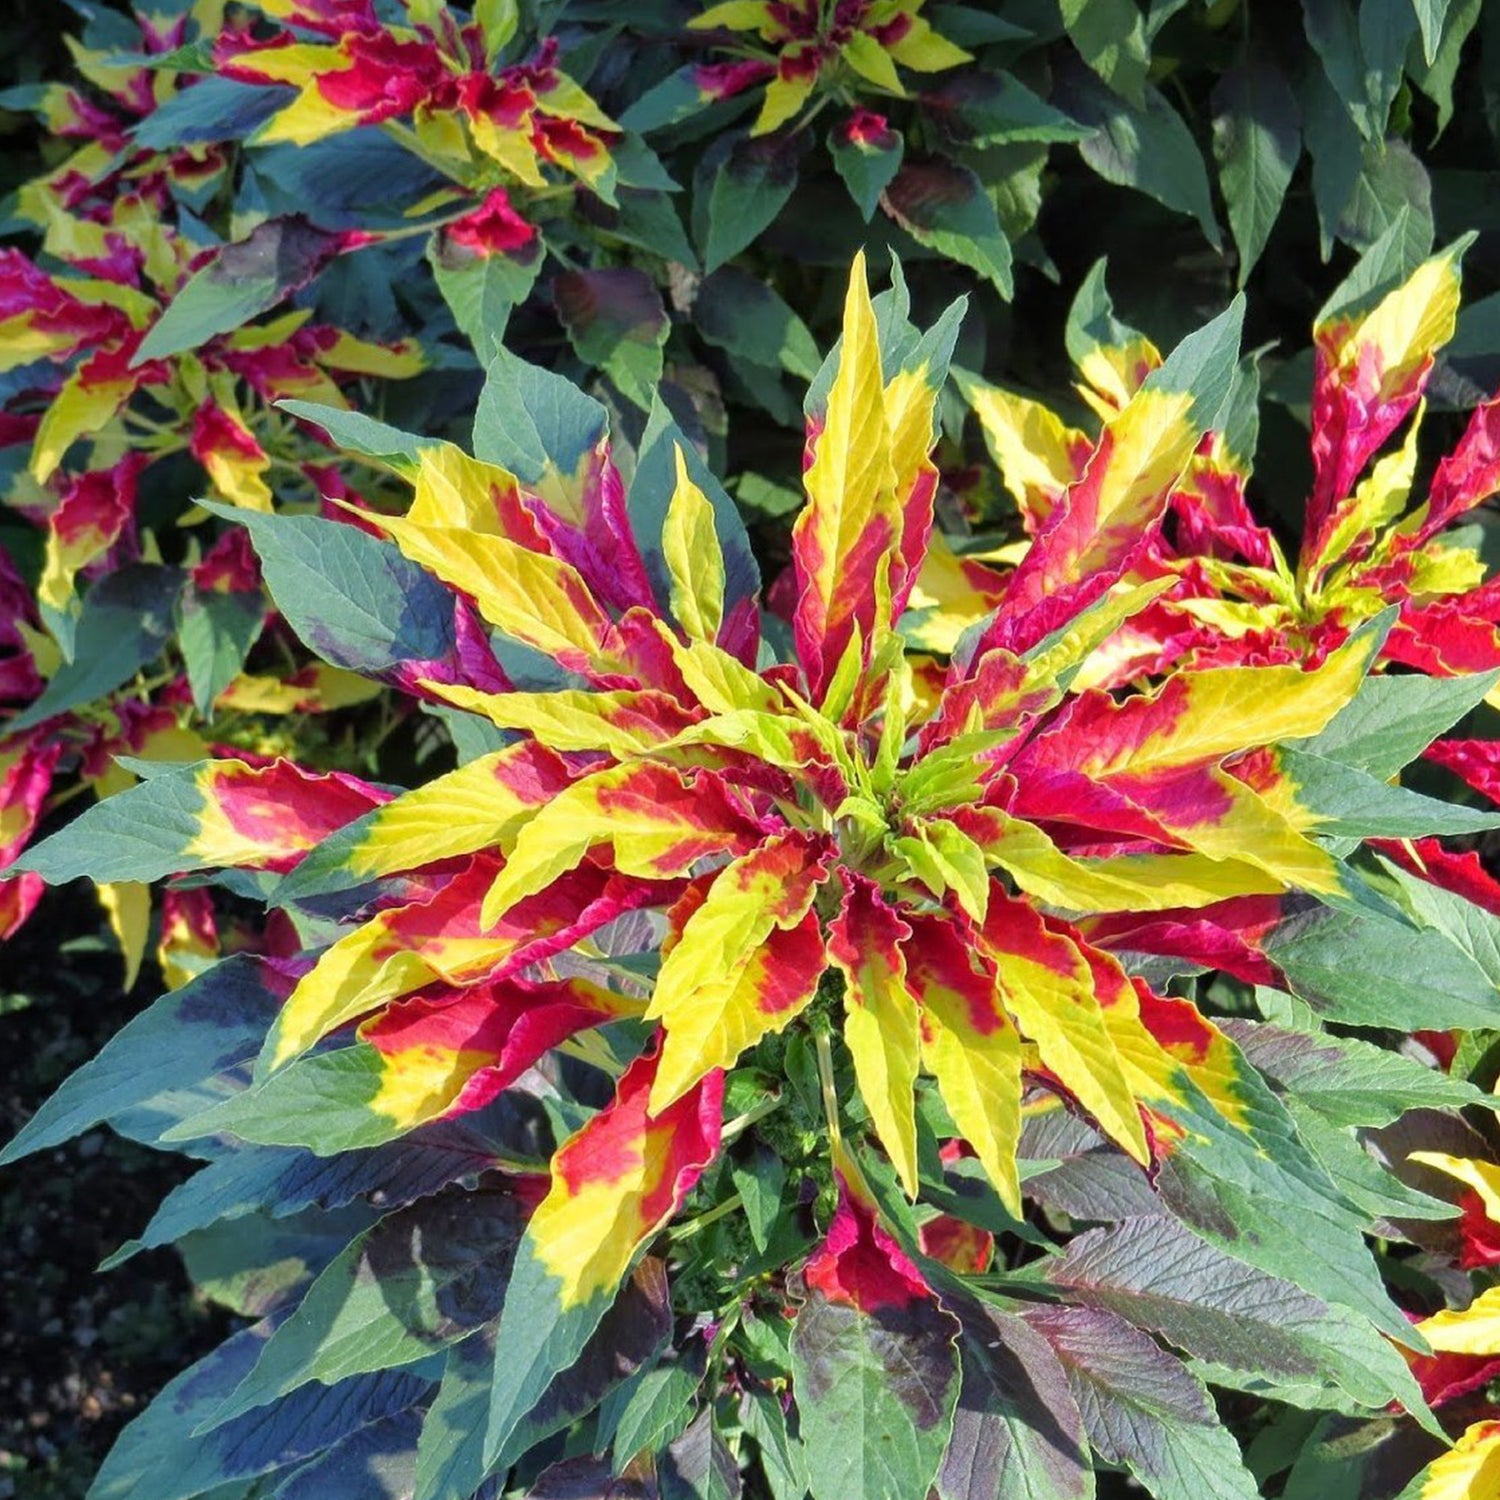
MEDICINAL HERB SEEDS
Welcome to our Medicinal Herb Seed section at FrozenSeeds! Here we stock...
-
PACKET ONLY
An entire collection dedicated to seeds we provide in packet only
-
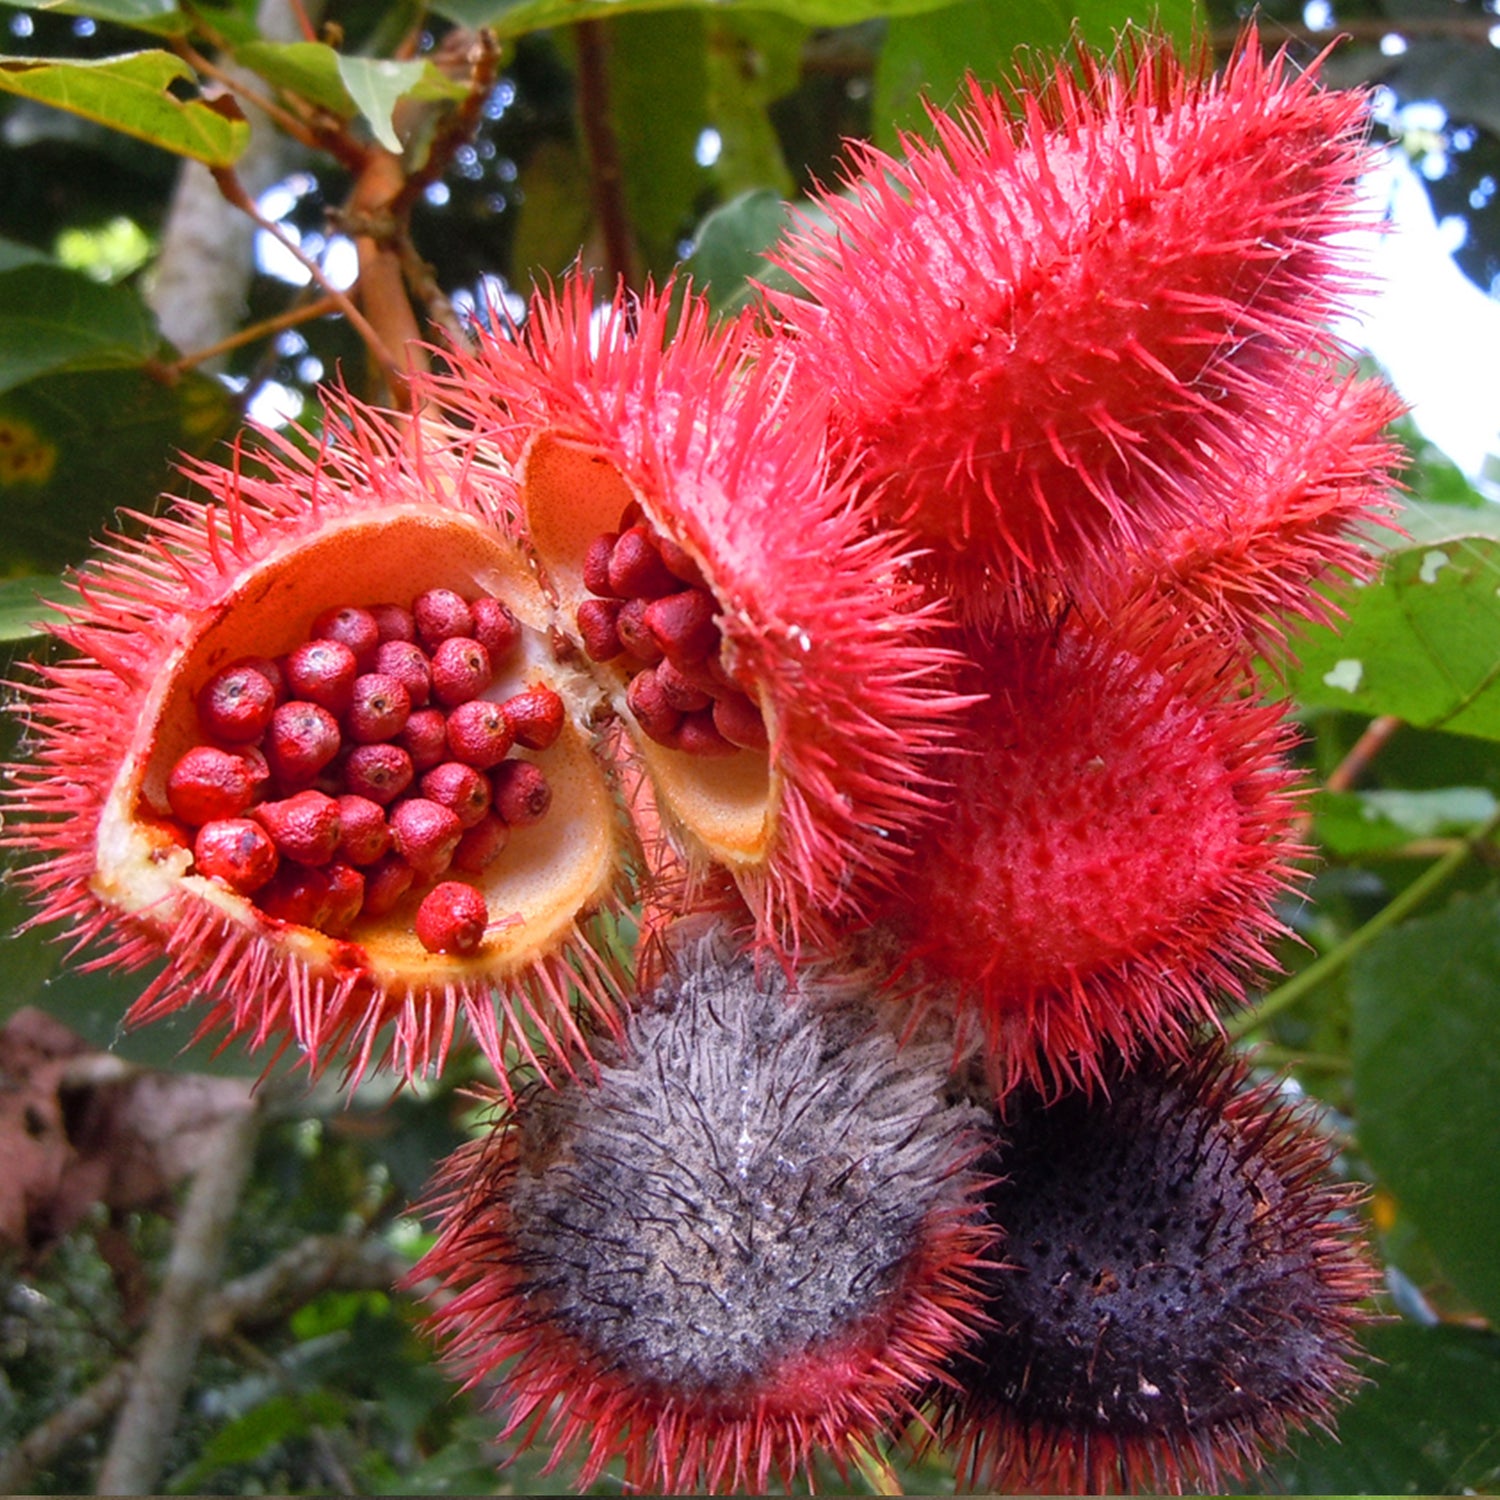
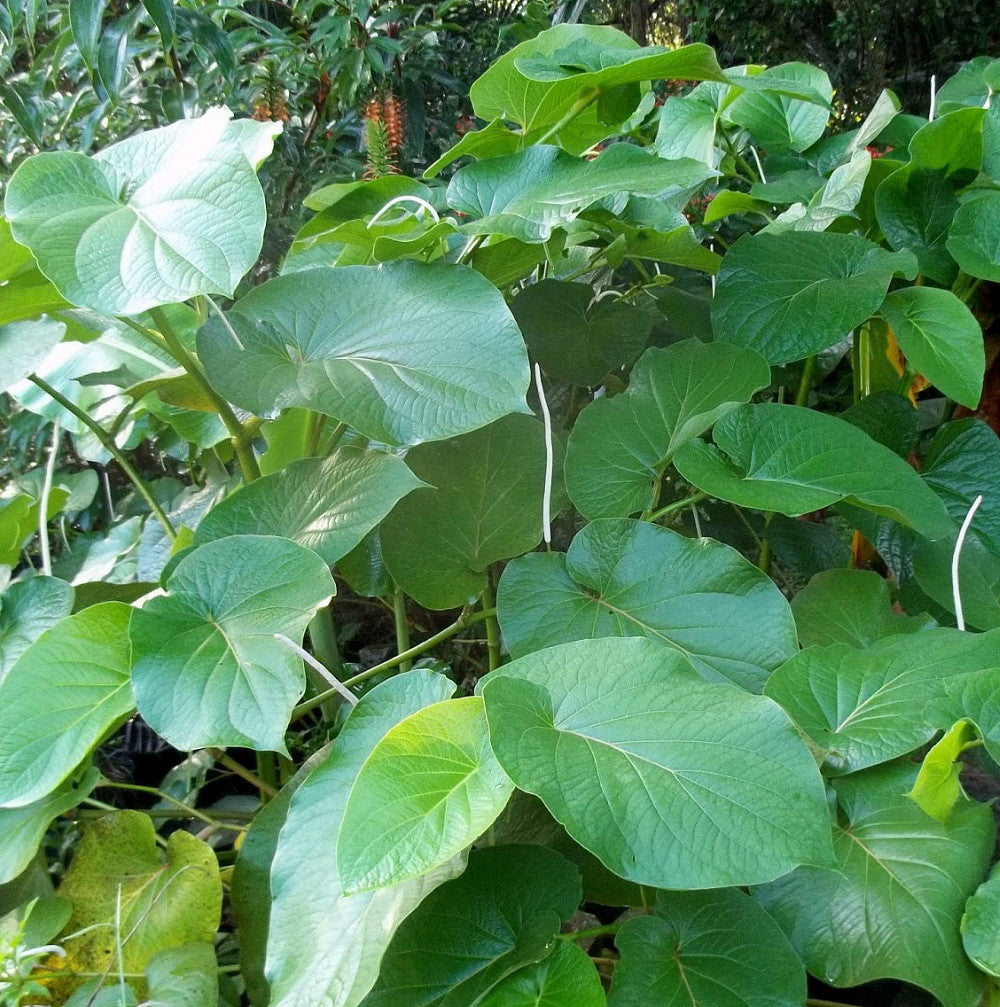
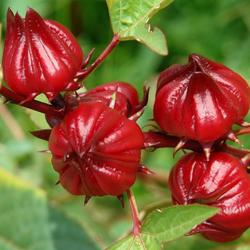
RARE & EXOTIC SEEDS
Looking for hard-to-find seeds? Shop our unique collection of Rare and Exotic...
-
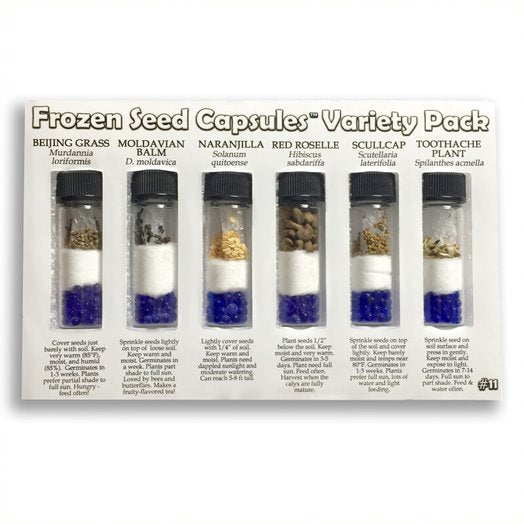
SEED VARIETY PACK COLLECTIONS
Shop variety packs and sample a little bit of a lot of...
-
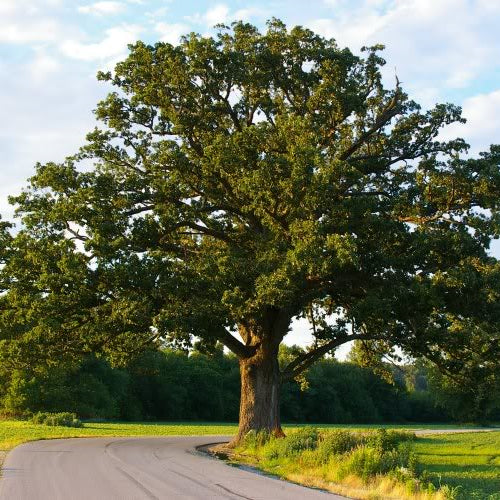
TREE SEEDS
Looking to grow trees of your very own? Shop our collection of...
-
TROPICAL PLANT SEEDS
Shop exotic, tropical plants for warm weather growing.


How to Properly Harvest, Clean, Dry, and Store Your Own Seeds
Seeds will last the longest when they are dried properly, when the vapor exchange of gases and elements has been slowed and when the seeds are stored in a frozen environment. Be sure to follow these main guidelines for maximum seed storage life.
HARVESTING AND COLLECTING YOUR SEEDS
When harvesting seeds, bring along several brown paper lunch bags with you, one for each variety you are collecting and a permanent marker to properly label your seeds. You should also have a pair of pruners or scissors with you. Harvest seeds in the mid-morning after the dew has a chance to dry out. Choose seeds from plants that show no obvious signs of disease or insect damage. Be sure to cut off diseased or insect-infested areas of the plant or completely remove any diseased or dying plants to keep the rest of your garden healthy. Always grow multiple plants to ensure a good genetic diversity of seed as well as insurance that at least one or two plants will develop fully mature seeds.
Herb and Flower Seeds: Be sure to wait until the flowering heads are completely dry before harvesting. If flowers on your plants are still forming at the same time seeds are ripening below, go ahead and leave the flower spike intact so more can be produced later and carefully harvest the seed below without damaging the main flower stem. Use your pruners or scissors with you to help cut free the ripe seed while leaving the other seed to finish maturing. When wild harvesting seeds, we recommend avoiding areas along roadways, under power lines or along railroad tracks. These areas are frequently sprayed for weeds and may contain high levels of arsenic and heavy metals. Choose areas that are away from thoroughfares like parks, cemeteries, and other rural locations that are unlikely to be chemically treated. Never trespass just to find seeds. Always harvest responsibly by leaving the plant intact as much as possible and only taking what you need. It’s important to leave some behind for the critters and next year’s crop!
Fruit and Vegetable Seeds: Fruit and vegetable seeds must be harvested and dried differently than flower and herb seeds. They are bigger and will usually crack if dried too quickly or mold if not dried properly. Make sure fruits are completely ripe before harvesting. The fruit may even be a little too ripe for your liking, but this is necessary for some types of seeds to fully develop to maturity. To harvest tomato seeds, for example, choose seed from fruits from the most outstanding plants you have and not necessarily from a large single fruit on a single plant. It is better to choose plants that have multiple fruits on them that are consistent in size and flavor. You can choose seeds based on the plant or plants that have the most abundant and uniform sized fruits and plants which perform well like vigorous growing, outperforming other plants, disease and insect resistance, flavor, etc.
CLEANING AND DRYING YOUR SEEDS
Seed cleaning can be as fun or as boring as you make it. I like to make it fun! I recommend cleaning your seeds at a time that you have a few free minutes to relax and enjoy your hobby.
Herb and Flower Seeds: For cleaning and drying herb seeds, varying sizes of steel mesh screens are recommended for sorting your seeds. By gently moving the seeds from one screen to another and through winnowing and by moving the screens back and forth, you’ll end up with good clean seed in no time. Another way of cleaning seeds from debris is by the paper method, which uses two pieces of paper to shuffle the seed back and forth while dumping the debris from the empty paper and alternating each time. Eventually you will end up with pure clean seed on the paper. After cleaning and sorting these smaller flower and herb seeds, it’s a good idea to let them sit on the counter and dry for at least one to three weeks depending on the seed size and your climate. Do not use water to clean herb or flower seeds.
Fruit and Vegetable Seeds: There are many ways to save seeds from fruits and vegetables. For example, with tomatoes I squeeze the insides of the fruit out into a bucket, and then spraying water vigorously to break up the jelly-like membrane that is around the seeds. Turn the water off and let the seeds settle to the bottom. Pour out most of the water and repeat this process until the seeds are clean. Once the seeds are clean, lay them out on the counter in an open area, being careful not to put them in direct sunlight. Dry them indoors where the humidity levels are 50% or less on a paper towel or directly on the countertop. It’s a good idea to move the seeds around several times throughout the day on the first 1-2 days while they are drying. This helps the larger seeds to dry more evenly so they resist cracking of the shell which can expose and kill the embryo inside. Continue moving the seeds around once or twice a day for at least 1-2 weeks while your seeds are properly drying and becoming dormant. It’s difficult to determine the actual moisture level your seeds will be at when you consider them dry, but a good rule of thumb is to let your fruit and vegetable seeds dry for at least 3-4 weeks on the counter. Another method for harvesting melon, cucumber, and tomato seeds is to let the seeds and pulp ferment in the bottom of a bucket for several days in which the seeds easily drop from there casings and are easier to clean.
FINISH DRYING AND STORING YOUR SEEDS
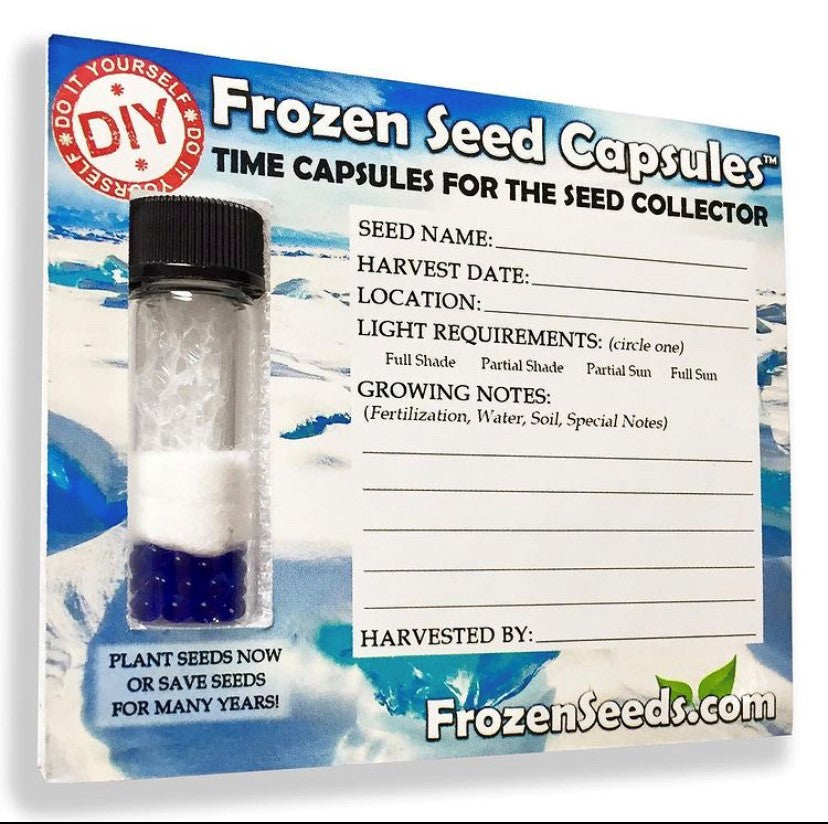
After your seeds have dried on the counter for 1-4 weeks, you can add them to your Frozen Seed Capsule™ to remove any excess moisture from the seeds. Store the seeds at room temperature in your Frozen Seed Capsule™ in a cool dry place for about a week. You will notice the blue silica beads turning a purple-pink color as they absorb the remaining moisture from the seeds. Once your seeds are dry you can put your Frozen Seed Capsule™ in the freezer for long-term storage. It’s a good idea to keep the seeds from going in and out of the freezer too much, as this can hasten seed deterioration. You can take the seeds out and use them any time you’d like and you can even use the seed capsule for next year’s seed harvest. If you don’t want to keep your seeds in the freezer, you can store seeds in Frozen Seed Capsules™ in the refrigerator or at room temperature with varying degrees of success depending on where you live. Always remember to keep the seeds out of direct sunlight and store them in a dry, dark cool place. Seeds will last the longest in the freezer, followed second by refrigerator storage, and the least amount of time when saved at room temperature. Regardless of the seed storage location, the seeds kept in Frozen Seed Capsules™ will last much longer than seeds packed in traditional paper envelopes.